Articles / LED Tail Lights Installation Guide
LED Tail Lights Installation Guide
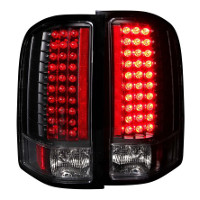
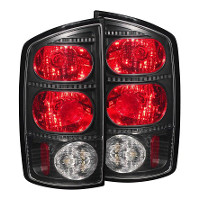
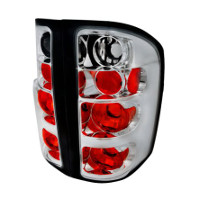
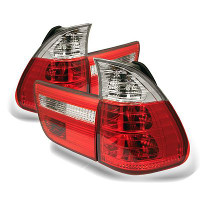
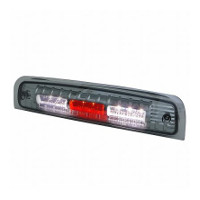
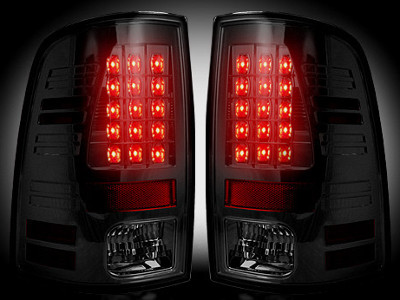
LED Tail Lights are the best choice today in the Tail Lights market. They are energy saving with less power consumed from your battery, and LED last much longer than the standard bulbs. Plus, the LED Tail Lights perform better and brighter than the OEM Tail Lights. These LED Tail Lights are designed with stylish appearance, easily standout from the Factory Tail Lights. They are manufactured in high quality and precise fitment. This is a general LED Tail Lights installation guide, specific vehicle model may varies.
-
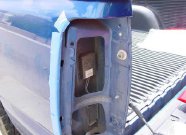
Remove the factory Tail Lights assembly by removing the screws from the back of the Tail Lights or other necessary parts.

-
Unplug the light bulbs from the Tail Lights sockets, and disconnect the wiring harness.
-
If the new LED Tail Lights come with a resistor, place the resistor in a safe location in the housing.
-
Connect the pigtails to the Tail Lights sockets, then connect the resistor to the new LED Tail Lights.
-
Install the new LED Tail Lights in the vehicle and secure with screws or other necessary parts.

-
Finally, test all functions before driving. Congratulation, you have finished installing LED Tail Lights.


